No-Sew Pillow Talk
- Feb 27, 2017
- 2 min read
I consider sewing to be a talent! Being able to use a sewing machine is no joke, and more power to you if you have mastered it! Even more power to those of you who are able to sew by hand!
This DIY gal, however, cannot sew to save her life. And a sewing machine? Forget about it!
(I should probably take a class though.)
For those of you who can't sew to save your life (like me), have I got news for you! I have a technique that will save you time, money and space (of a sewing machine, at least).
Insert stapler here.
This week's DIY is really simple, will take you max 30 minutes, and will leave you with a decorative pillow to put on your couch, bed, or anywhere else your heart desires.
*DISCLAIMER: I strongly advise using pillows made with this technique as decorative pillows only.
Supplies:
2 pieces of fabric of any material or design both measuring at 12 inches on all four sides.
Permanent fabric adhesive
Craft/heavy duty staple gun with a lot of staples
Fiber fill or cotton filling
Let's get started!
Step 1:

Put one 12" square of fabric on top of the other square of fabric, lining it up from edge to edge, so that the pattern that you want on the pillow are facing each other on the inside and you can only see the inner fabric print on the outside of both sides.
Step 2:

Take the staple gun. Start stapling about an inch away from the edge of the patterned side, so that the staples are closer to the edges than the glued area. Staple on all three sides and halfway thru the fourth side. This should leave you with only that small opening. If you have that, then you're right on target!
Step 3:

Gently start turning the fabric area inside out thru the small opening. Tug gently until you are able to successfully see the patterned side of the fabric on both sides.
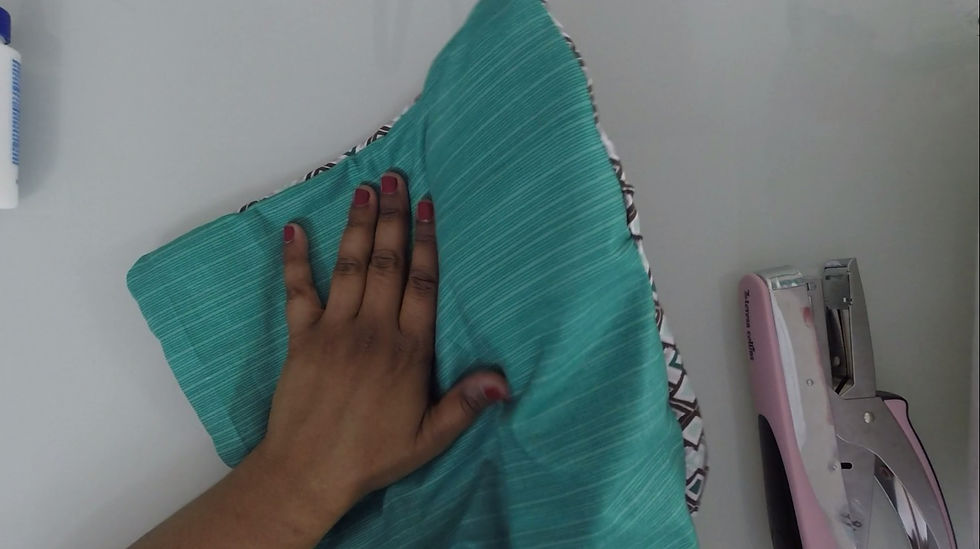
Put your hand inside the fabric and push out the corners gently with your fingers.
Step 4:

Time to stuff the pillow! Take the fiberfill and start putting it into the pillow thru the opening. Make sure to fill each side and corner.

Step 5:
After you have stuffed the pillow to your desired fluffiness, it's time to seal it!
We can't exactly staple it because it will show. So we're going to use the fabric adhesive to close the pillow.

Fold the edges of the fabric along the same way the adjoined fabric is folding so there are no inconsistencies. Do this to the other side as well. Apply a thin strip of fabric adhesive to the folded part of the fabric (closest to the edge).

Put the other side edge of the fabric on top of the glued side, lined up, and pinch the edges together

Set the pillow aside and allow some time for the glue to dry (maybe a couple hours).
You just created a pillow! Check you out!

P.S. I ended up creating two more pillows in the same color scheme for good measure. :-)
Keep it Classy and Crafty,
-SS


Comments