Create Art With Thumbtacks
- Oct 11, 2015
- 3 min read

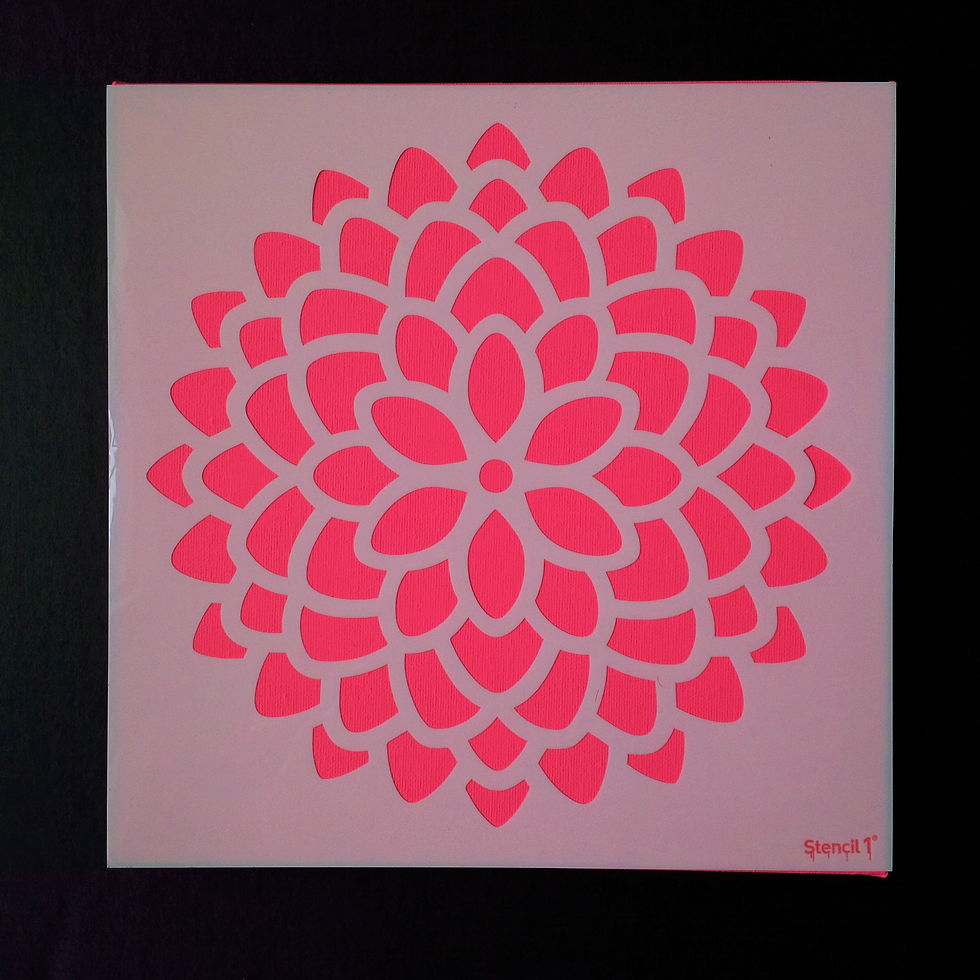
Creating home decor like the one pictured above is easy and fun! It takes approximately a day (mostly to wait for the paint to dry), and leaves you with a work of art that you can hang up in your home or office.
One thing to remember while creating this or any do-it-yourself project is not to rush. It is important to take your time and not take any shortcuts in order to end up with a quality work of art that you can be proud of.
With that being said, let's get started!
Materials (everything on the list can be purchased at your nearest Hobby Lobby or Michaels):
- 1" or 2" paintbrush (to paint the background with)
- A white color pencil
- 12" x 12" stretched canvas
- Stencil of your choosing (click here for the one pictured above)
- 8 boxes of gold thumbtacks (these can also be purchased at Walmart or Dollar store)
- A bottle of acrylic paint (I used Americano's "Electric Pink")

Step 1:
Using the paint and the paintbrush, paint the top and the sides of the canvas. I used two coats of paint to make sure I covered every inch. Wait a few hours for the paint to dry (or overnight).

Step 2:
Take the stencil, and place it over the canvas as pictured below. It is important that the paint on the canvas is fully dried before you start using the stencil, or it will cause the stencil to stick to the canvas, and chances are that you will have to repaint some areas.
Next, take the white color pencil and trace each outline. I like to start from the middle and work my way outward.

Step 3:
When you are all done tracing the stencil, take the thumbtacks and start sticking them in!

First, pick an outlined shape (I like to start with the circle in the middle first), and follow along right inside of the white outline in the thumbtacks.


The text thumbtack should go right next to the top part of the thumbtack, so that when you push it in, it overlaps with the first one.

The third thumbtack will do the same thing with the second one.
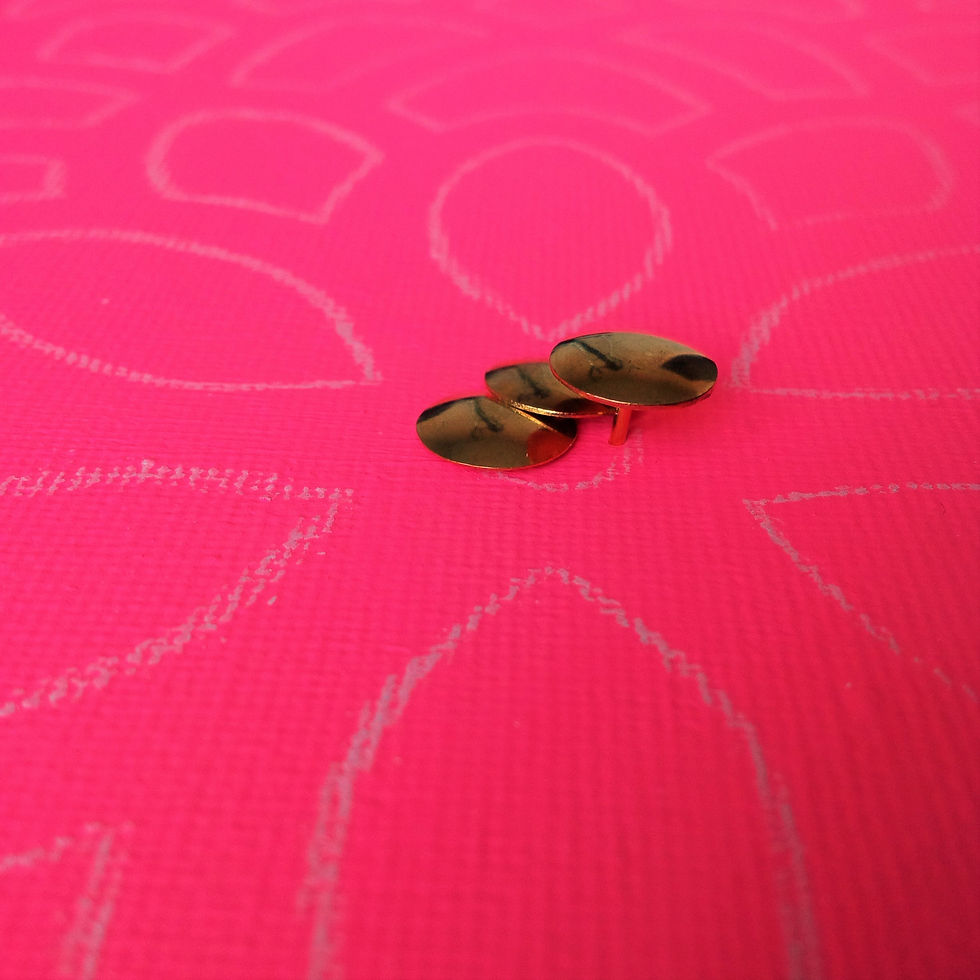
The small circle will only take four thumbtacks.

Next, pick another shape and follow along the inside of the white outline and work your way in.

If you make a mistake and happen to poke a hole in the wrong area, don't panick. Poke a hole right beside it, leaving a little bit of a gap between the holes, and push the thumbtack through.

As I said before, take your time and do one shape at a time. If you make a mistake, don't give up. All mistakes are fixable, and chances are, once you correct it, no one will notice once you're finished with the project.
To make the time go by faster, I like to listen to some music :-)
With a little bit of patience and effort, your finished project should look like this:

You did it! You now have an art piece that you can proudly hang in your home or office, or even give as a present. You should be very proud of yourself!
Let me know how you did in the comments below!
BB & GOBB! (Be Blessed & Go Out and Be a Blessing)


Comments